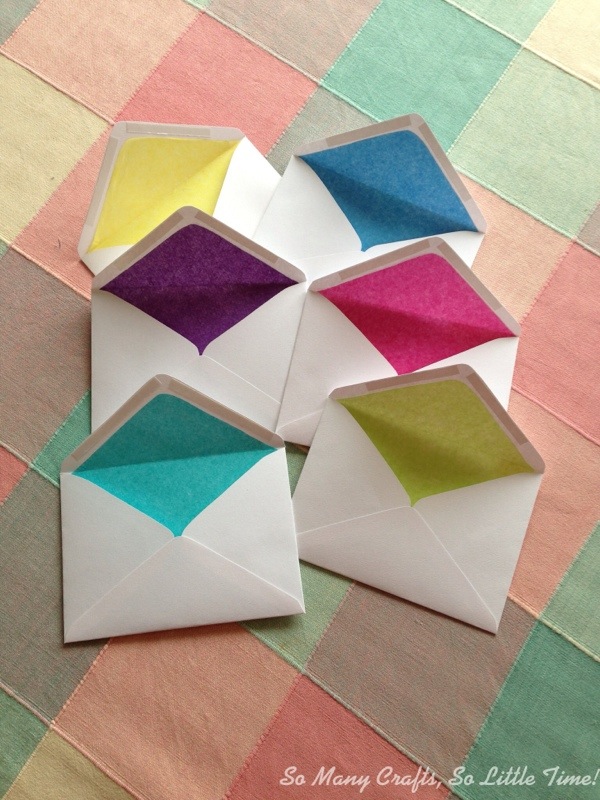
Earlier this year I decided to share my trade secrets about how to make envelopes, and I was really pleased with how popular the post was! So I thought it was about time that I do a second envelope tutorial, but this time showing you how to make lined envelopes. They are really good for a special occasion and you can customise them to any colour scheme you want to. I used tissue paper for the lining, but you could use any pretty paper – just make sure that it isn’t too thick, otherwise it will be difficult to fold the envelope.
You will need:
Paper for the outer and inner envelope
An outer envelope template
An inner envelope template
Scissors
A glue stick
A ruler
A pencil
Double-sided sticky tape
A cutting mat (or flat surface for drawing on)
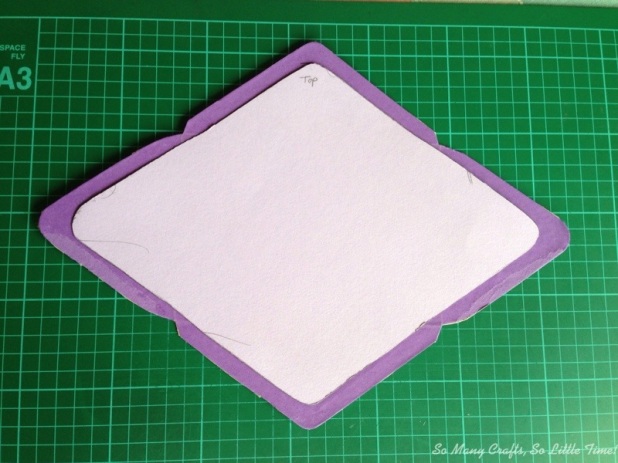
Step 1: Make your templates by finding an envelope in the size that you want, and make the inside template by drawing a smaller shape of the outer envelope (see photo!). Cut out your templates on to some fairly thick card – this will allow you to use them again and again! You might need to use a craft knife to do this, depending on the thickness. Then draw around each template on the paper that you have chosen, cutting them out really carefully.
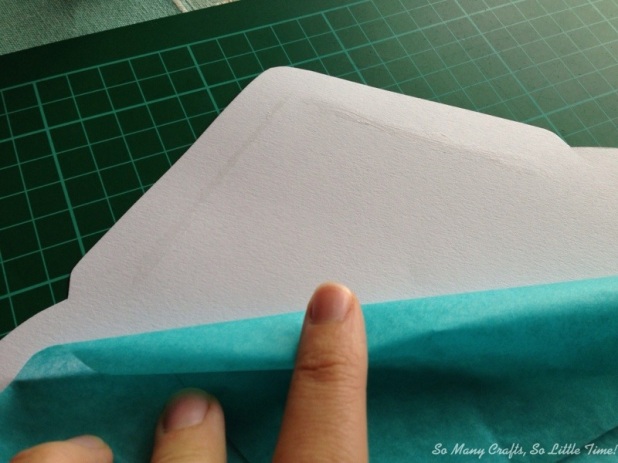
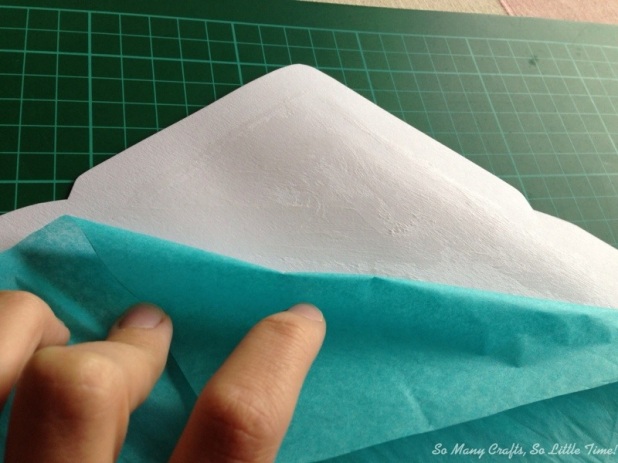
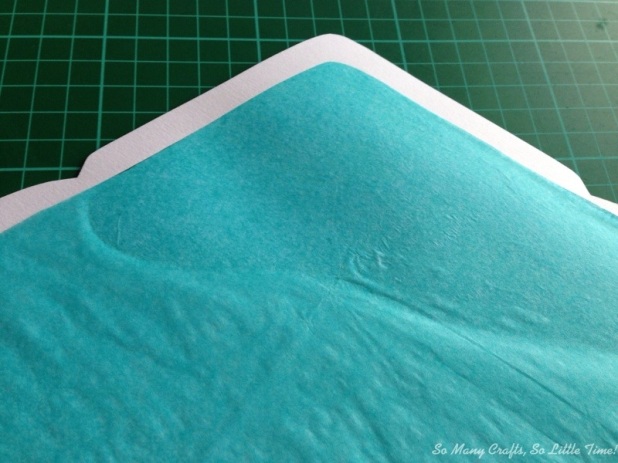
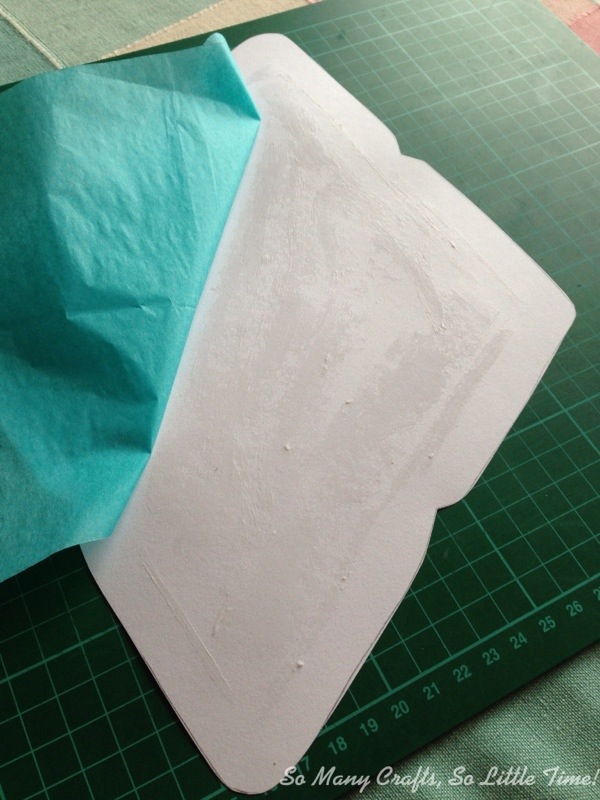
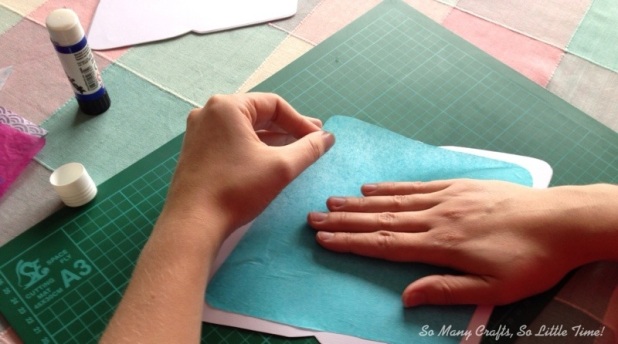
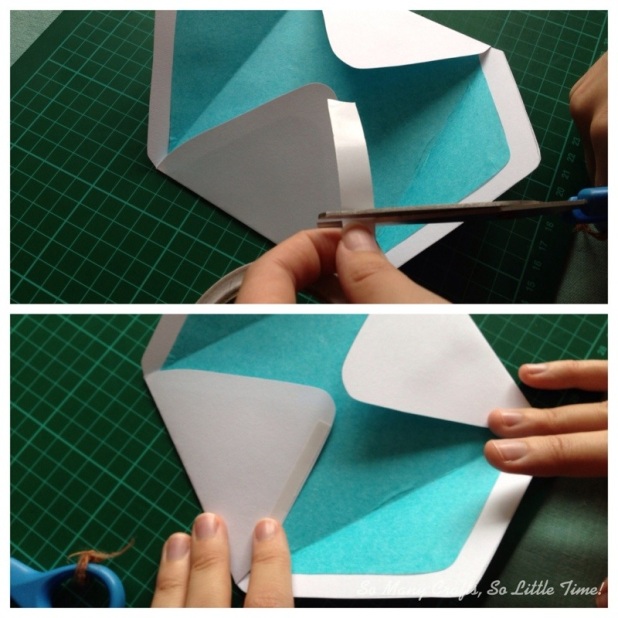
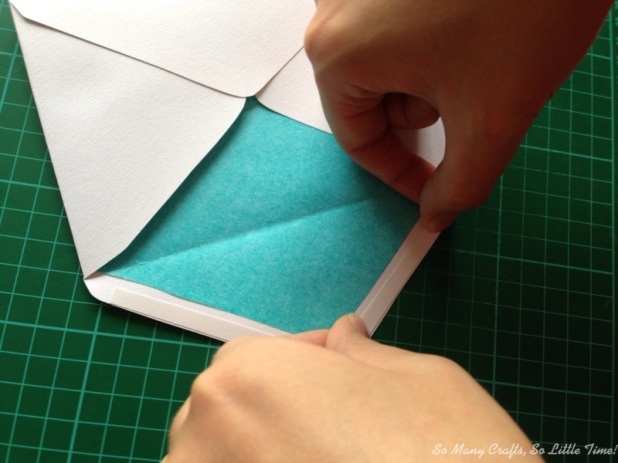
Step 2: Rub out the pencil marks on the top of the inside of the outer envelope (there’s no need to do the others as you won’t see them once everything is stuck together). Place the lining on top and then lift up the top edge and glue a line where the lining will be placed (see photo above!). Then fill in the rest of the gap with glue and then carefully smooth out the lining (see next 2 photos!).
Step 3: Repeat this gluing with the rest of the lining (it’s easiest to do this in one go). Leave the lining to dry for a while – a good opportunity to put the kettle on…
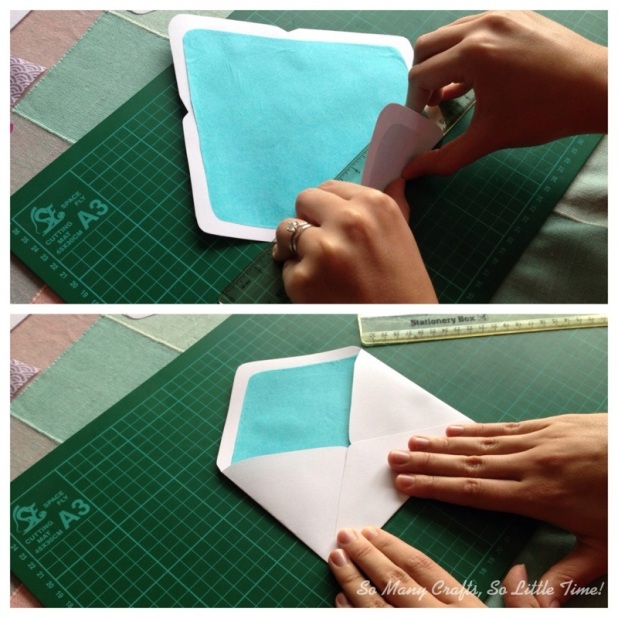
Step 4: When it has dried, you can fold the envelope – the ruler will come in very handy here! Start with the sides first, then the bottom and then the top. Make sure you’ve pressed each side down carefully.
Step 5: Measure a length of sticky tape to stick the bottom to the sides (I usually cut a 1cm strip in half). Place the tape carefully along the bottom of each side edge, remove the backing and then stick.
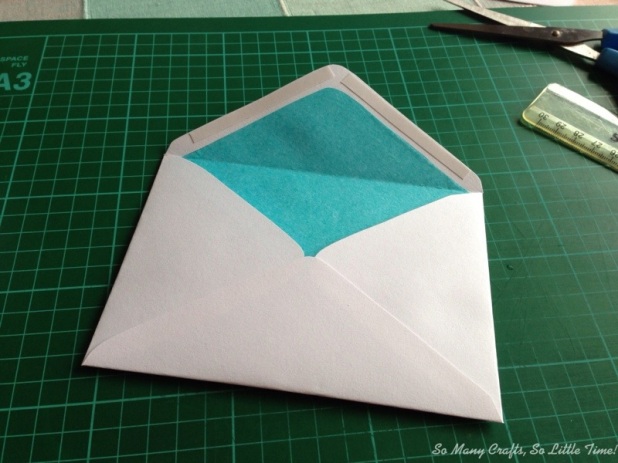
Step 6: Finally, measure another length of sticky tape for sealing in the same way as before. Stick as close as you can to the top edge – but remember not to pull of the backing this time!
Ta-dah!
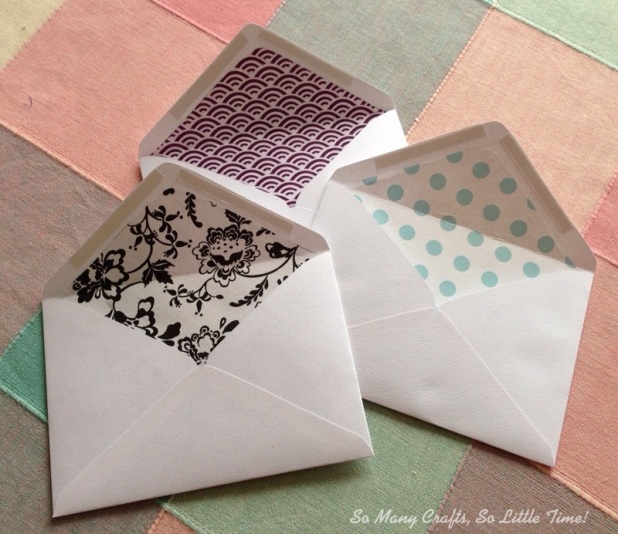
I made the plain coloured linings as part of a rainbow set, which would make a really nice gift. But there are so many lovely patterned tissue papers that you could use – these ones are my favourites!
I was hoping to include the templates with this, but I’m having computer issues – ugh! I want the templates to be actual size but they’re printing a few millimetres smaller than they should. If I can figure out how to fix this, I’ll post them! 🙂
Those are so pretty Clare! How nice to get any one of those in the mail, but especially the aqua one 😀 My friend Alys has send me things in envelope made out of calendars. They’re great for big stuff
Thank you so much! Yes, I love getting pretty things in the post too – I try to write letters as much as I can, but could so it more often. That’s a great idea about using calendars! Might have to try that!
Reblogged this on Something to Ponder About and commented:
Wish I had more time to do these pretty crafts
Pingback: Tutorial: Mini Christmas cards and envelopes | So Many Crafts, So Little Time!